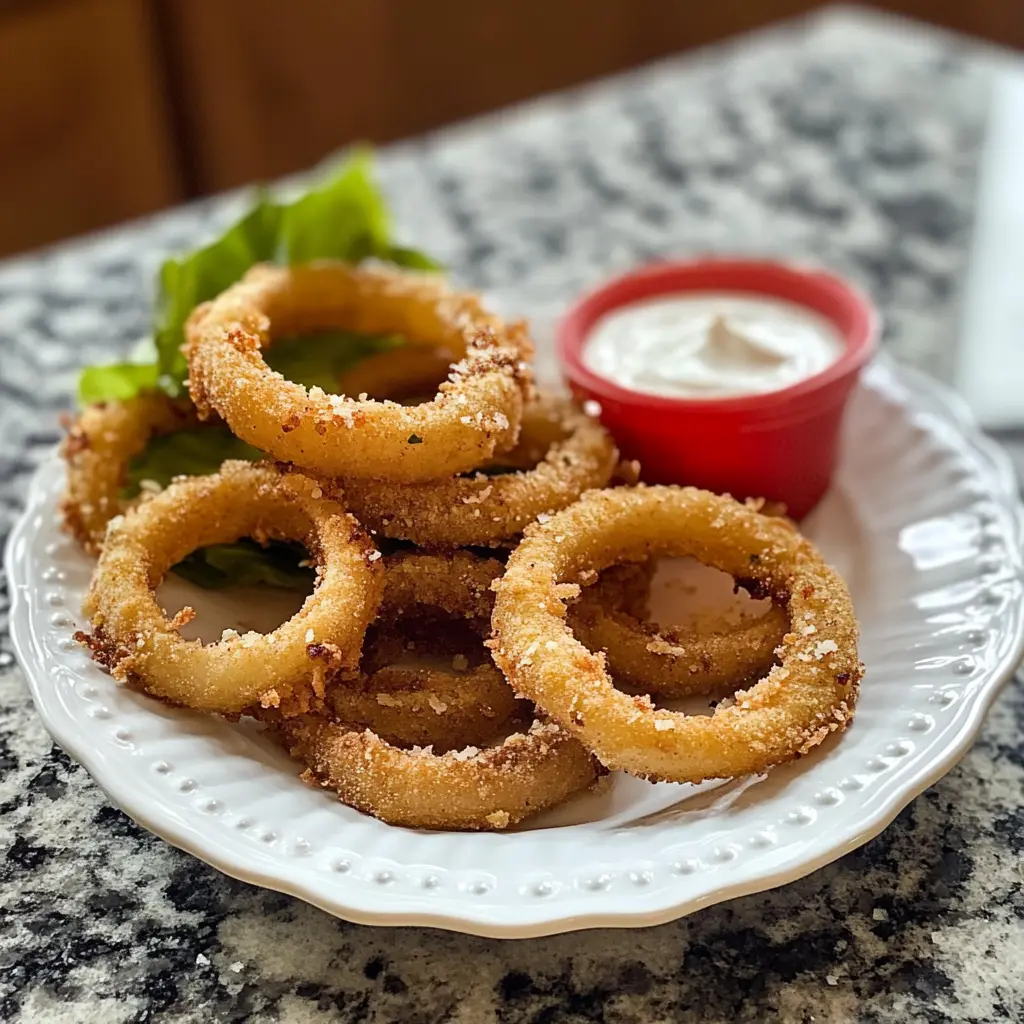
Crispy onion rings are a classic appetizer that brings a crunchy, savory delight to any meal. Perfectly seasoned and fried to golden perfection, these onion rings are sure to be a hit at your next gathering or as a delicious side dish for your favorite burger. With a light, crispy coating and a sweet onion flavor, they are irresistible and easy to make at home.
Why You Will Love This Recipe
This recipe for crispy onion rings is not only simple but also yields incredibly satisfying results. The combination of buttermilk and a seasoned flour dredge creates a flavorful crust that locks in the sweetness of the onions while providing a satisfying crunch. Whether you’re serving them at a party, enjoying them as a snack, or pairing them with a hearty meal, these onion rings will impress everyone at the table. Plus, they are customizable! You can adjust the seasonings to suit your taste, making them as spicy or as mild as you prefer.
Introduction
Onion rings have long been a favorite in American cuisine, often found on the menus of diners and fast-food joints. However, making them at home allows for a fresher, more personalized touch. This recipe will guide you through the steps of creating your own crispy onion rings, ensuring that you achieve that perfect crunch and flavor. With just a handful of ingredients and a little bit of frying finesse, you can create a batch of onion rings that rivals any restaurant.
Ingredients:
- 🌰 2 large onions, cut into 1/2-inch rings
- 🍚 1 cup all-purpose flour
- 🥛 1 cup buttermilk
- 🍞 1 cup breadcrumbs
- 🌶 1 teaspoon paprika
- 🧄 1 teaspoon garlic powder
- 🧂 1 teaspoon salt
- 🌑 1/2 teaspoon black pepper
- 🌿 Vegetable oil for frying
Preparation:
Step 1: Begin by peeling the onions and cutting them into 1/2-inch thick rings. Carefully separate the rings and set them aside on a plate or in a bowl.
Step 2: In a medium mixing bowl, combine the all-purpose flour, paprika, garlic powder, salt, and black pepper. Whisk the dry ingredients together until they are well mixed, creating a flavorful dredging mixture.
Step 3: Pour the buttermilk into a separate shallow dish. Take each onion ring and dip it into the buttermilk, ensuring it is fully coated. Allow any excess buttermilk to drip off before proceeding to the next step.
Step 4: After the onion ring is coated in buttermilk, dip it into the flour mixture, pressing gently to ensure the coating adheres well. This step is crucial for achieving that crispy texture.
Step 5: For an extra crispy finish, you can double-coat the onion rings. After the initial flour coating, dip the onion ring back into the buttermilk and then into the breadcrumbs, pressing down to ensure an even coating. This will create a thicker crust that is incredibly crunchy.
Serving Suggestions:
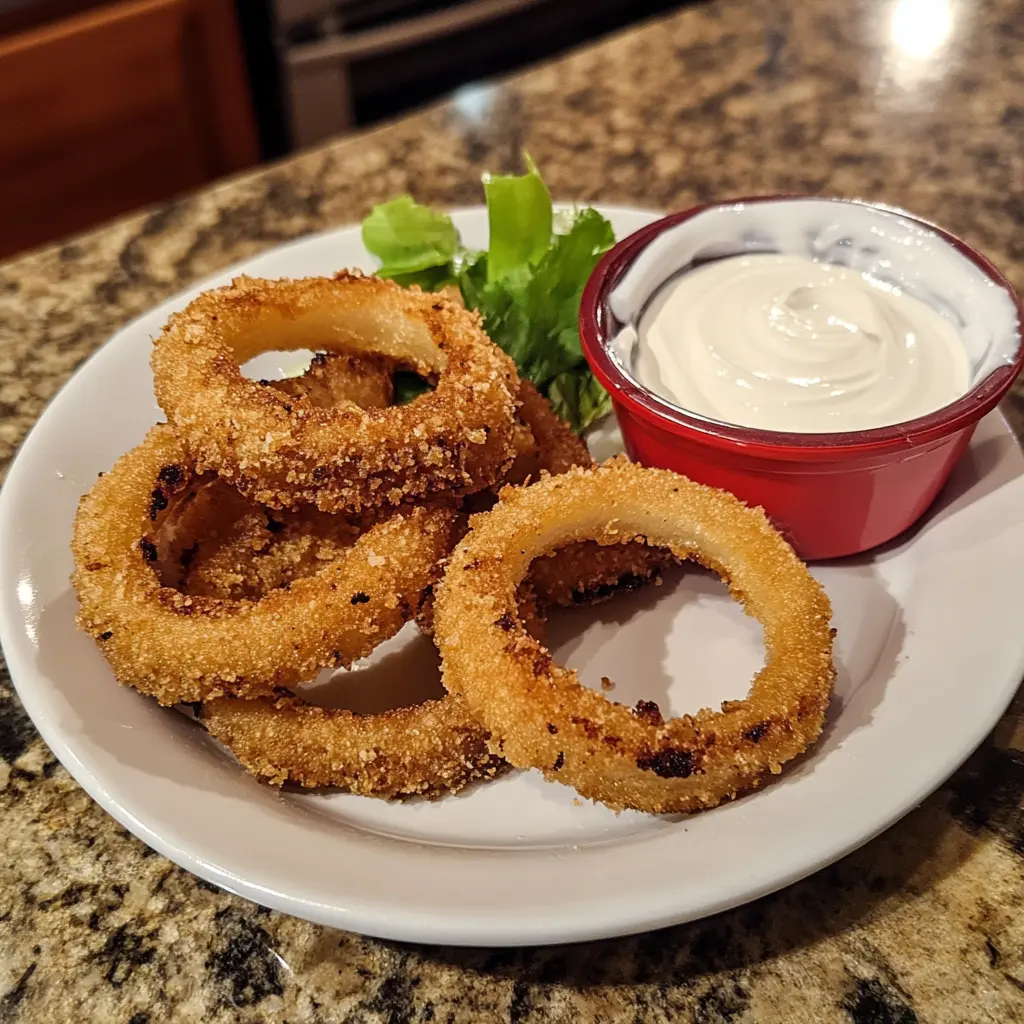
Serve the crispy onion rings immediately while they are still warm. They pair wonderfully with a variety of dipping sauces, such as ranch dressing, spicy ketchup, or a tangy barbecue sauce. For a fun twist, consider serving them alongside a creamy garlic aioli or a zesty sriracha mayo. These onion rings also make a great addition to a burger platter or as a side dish for a classic American meal.
Tips:
- Choose the Right Onions: Sweet onions, such as Vidalia or Walla Walla, work best for this recipe, as they provide a natural sweetness that complements the crispy coating.
- Maintain Oil Temperature: It’s important to keep the oil at the right temperature (around 350°F or 180°C) for frying. If the oil is too cool, the onion rings will absorb too much oil and become greasy. If it’s too hot, they may burn before cooking through.
- Avoid Overcrowding: Fry the onion rings in batches to avoid overcrowding the skillet. This ensures that they fry evenly and become crispy on all sides.
- Experiment with Seasonings: Feel free to customize the seasoning in the dredge mixture. Adding cayenne pepper for heat or Italian herbs for a different flavor profile can create a unique twist on the classic onion ring.
- Bake Instead of Fry: For a healthier option, you can bake the onion rings in a preheated oven at 425°F (220°C) for about 20-25 minutes, flipping halfway through, until they are golden and crispy.
Prep Time: 15 minutes
Cook Time: 10 minutes
Total Time: 25 minutes
Nutritional Information (per serving):
- Calories: Approximately 300
- Protein: 5g
- Sodium: 600mg
Conclusion
Crispy onion rings are a delightful treat that can elevate any meal or snack time. With their crunchy exterior and tender, sweet interior, they are a perfect indulgence that is easy to make at home. By following this recipe, you’ll be able to impress your family and friends with delicious, homemade onion rings that are far superior to store-bought versions. So, gather your ingredients, fire up the skillet, and get ready to enjoy these crispy delights!
Questions and Answers About This Recipe
1. Can I use a different type of onion for this recipe?
Yes, while sweet onions are recommended for their flavor, you can use yellow or even red onions if you prefer. Just keep in mind that the taste may vary slightly.
2. Can I make these onion rings ahead of time?
While these onion rings are best enjoyed fresh, you can prepare the onion rings up to the frying step and refrigerate them for a few hours. Just coat them in the dredge and breadcrumbs before frying.
3. What can I use instead of buttermilk?
If you don’t have buttermilk, you can make a quick substitute by mixing one cup of milk with one tablespoon of vinegar or lemon juice. Let it sit for about 5 minutes before using.
4. How do I store leftover onion rings?
To store leftover onion rings, place them in an airtight container in the refrigerator. They can be reheated in an oven or air fryer to regain some of their crispiness.
5. Can I freeze onion rings?
Yes, you can freeze uncooked onion rings. After coating them, place them on a baking sheet to freeze individually, then transfer them to a freezer bag. When ready to cook, fry them straight from the freezer, adding a couple of extra minutes to the cooking time.